Queen's Court
Guida in italiano qua!
Cliccate su Leggi Tutto per la guida completa in inglese!
Quick Tips
Silivaz the Zealous & Pashmar
-
Keep the bosses 21+ yards apart to prevent
 Separation of Power from triggering.
 -
Defeat both bosses within 15 seconds of each other to prevent
 Desperate Measures from occurring.
Silivaz the Zealous
-
Stack on the player targeted by
 Frenetic Charge to help split the damage of the ability.
 -
Players marked with Frenetic Charge should to the edge of the room to place the
 Mighty Rupture pool out of harms way.
 -
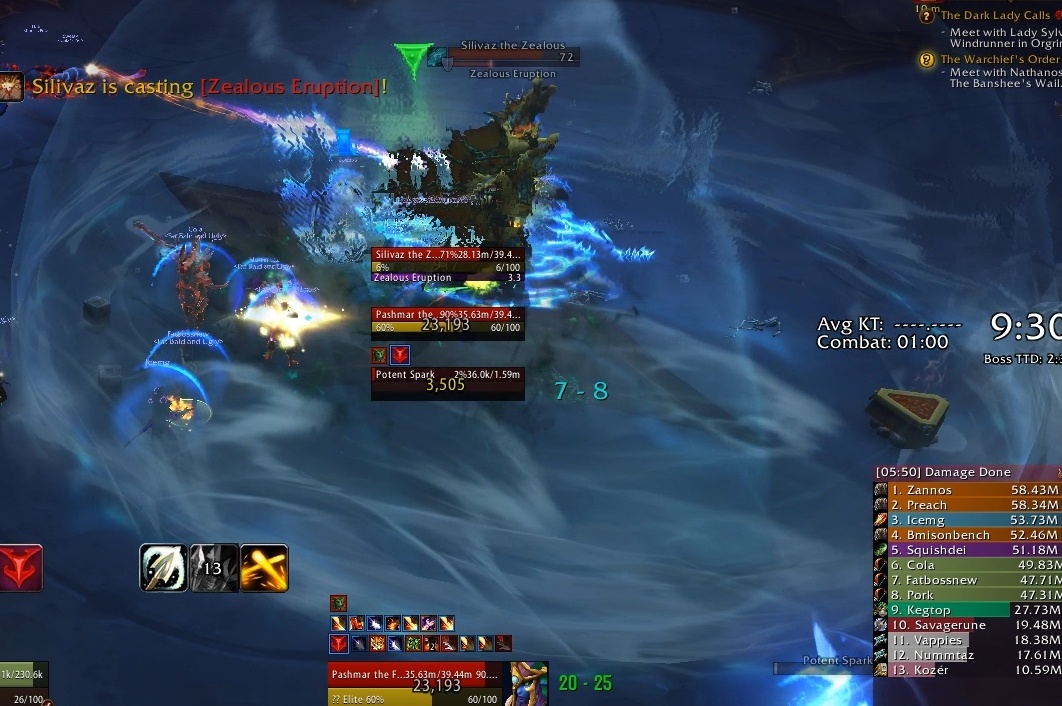
Stack next to Silivaz the Zealous when
 Zealous Eruption is cast.
Pashmar
-
Tanks should taunt swap before
 Pashmar's Touch reaches 10 stacks.
 -
Move 6+ yards away from your allies when afflicted with
 Fanatical Verdict.
 -
Stagger the rate in which the
 Potent Sparks die to keep incoming damage managable.
 -
Move 25-30 yards away from Pashmar when she casts
 Violent Outburst.
Decrees
-
Stand within the
 Form Ranks zones before the expire to reduce incoming raid damage.
 -
Avoid casting the same ability twice whilst
 Repeat Performance is active.
 -
Be spread 5+ yards when afflicted with
 Stand Alone.
 -
Move often when
 Deferred Sentence is active to keep stacks low and incoming damage slow and steady.
 -
Avoid taking damage whilst
 Obey or Suffer is active.
Abilities & Strategy
Desperate Measures
The two bosses, Silivaz the Zealous and Pashmar the Fanatical, have seperate health pool and need to die at roughly the same time.
-
As soon as one of the bosses reaches 1 hp, it will begin to cast Desperate Measures. This 15 second cast will heal the caster to 30% of its maximum health.
-
The cast is only interrupted when the other boss also reaches 1 hp, at which point both bosses will die and the fight will be complete.
Separation of Power
The two bosses cannot be positioned on top of each other, due to their ![]() Separation of Power auras which reduce the damage they take by 99% whilst within 21 yards of each other.
Separation of Power auras which reduce the damage they take by 99% whilst within 21 yards of each other.
-
Pashmar the Fanatical should be positioned at the edge of the encounter space, roughly where she is at the beginning of the fight.
-
Silivaz the Zealous should be positioned in the direct centre of the encounter space, at least 22 yards away from Pashmar.
-
The reason behind this positioning will be made clear in later sections of the guide.

Keep the bosses at least 21 yards apart!
As the bosses cannot be stacked up and cleaved down, and taking into account they have separate health pools, the raid will want to damage the bosses evenly throughout the fight.
-
Melee players should generally attack Silivaz the Zealous, as some abilities Pashmar casts force players to move away from her.
-
To balance this out, ranged players should generally be focusing damage onto Pashmar.
-
Multi-dot classes are incredibly strong for this encounter. If your raid team is struggling to defeat the bosses in a timely manner, you may want to grab some Shadow Priests, Balance Druids, Warlocks or Elemental Shamans.
Silivaz the Zealous
 Commander's Fury
Each consecutive melee attack against the same target will give Silivaz the Zealous an 8% attack speed buff which stacks.
-
This will lead to the tank receiving ever increasing incoming damage.
-
This buff should not dictate when you should tank swap, instead the Pashmar's Touch stacks should dictate the point in which tanks should swap.
Frenetic Charge
This boss will mark a random non-tank player for 6 seconds with ![]() Frenetic Charge.
Frenetic Charge.
-
After this time he will charge at them, dealing a large burst of frost damage split between all players within 8 yards. This also knocks back all players hit.
-
This also leaves behind a Mighty Rupture pool at the marked players location. This pool deals heavy ticking damage to anyone who stands within it.
-
The initial damage of the ability is high enough that a single player is unlikely to survive without large damage reductions, immunities or heavy shielding.
-
To counter this, several players should help split the damage of the charge as to bring the damage down to survivable levels.

To keep the encounter space clean, the marked player should move towards the edges of the encounter space, as to place the ![]() Mighty Rupture pool out of harms way.
Mighty Rupture pool out of harms way.
-
The player should ensure that they do not move towards Pashmar, as this will trigger the Separation of Power damage reduction which is sure to annoy all of the DPS.

Zealous Eruption
The boss passively gains energy over time. Upon reaching 100% energy, he will cast ![]() Zealous Eruption.
Zealous Eruption.
-
This deals heavy ticking damage to the raid over 10 seconds, but all players near Silivaz the Zealous will avoid all of this damage.
-
This "safe zone" is clearly indicated by a large bubble around the boss. If you're within the bubble, you aren't taking any damage.
-
All players should stand within the safe zone as to avoid the damage, apart from the other tank, as they will want to keep Pashmar away to avoid triggering the damage reduction.
-
This tank will need to receive focused healing from the healers over these 10 seconds.
Pashmar the Fanatical
Pashmar's Touch
Pashmar will apply occasionally apply a stack of ![]() Pashmar's Touch to her tank.
Pashmar's Touch to her tank.
-
This debuff doesn't actually do anything until it reaches 10 stacks, at which point the target will be mind controlled via
 Fanatical Zeal.
 -
To avoid this mind control, the tanks should taunt off of one another before they reach 10 stacks.
-
By the time the first tanks stacks have dropped, the second tank usually has 5-8 stacks.
-
When taunting, keep the bosses in their assigned positions, as this will prevent the Separation of Power from triggering.
Fanatical Verdict
Pashmar will apply ![]() Fanatical Verdict debuffs to random non-tank players.
Fanatical Verdict debuffs to random non-tank players.
-
This debuff causes the player to deal high nature damage to all players within 6 yards when it expires.
-
Players afflicted with Fanatical Verdict should move away from their allies as to reduce incoming raid damage.
Potent Spark
Approximately every 90 seconds, Pashmar will summon three ![]() Potent Spark orbs.
Potent Spark orbs.
-
These attackable orbs will slowly lose their health over time, and upon death will deal a large burst of damage to the entire raid.
-
The raid needs to offset the times in which these explosions occur, by nuking down a single orb straight away, lightly damaging the next orb and then completely leaving the last orb alone.
-
This will ensure that the explosions are staggered, allowing healers to heal the raid back up between each one.
-
The raid leader should mark a single orb for players to kill, as to prevent multiple orbs being focused down at the same time.

Violent Outburst
Pashmar gains energy passively over time. Upon reaching 100 energy, she will cast ![]() Violent Outburst.
Violent Outburst.
-
This deals a large burst of damage to all players within the targeting circle around her, however this damage is reduced the further away players are from it.
-
This is the main reason why Pashmar should be tanked at the edge of the encounter space, as this gives players more space to move away from her.
-
All players should attempt to move out of this zone as to avoid taking any damage from this ability at all.
Queen Azshara's Decrees
30 seconds into the encounter, and every minute after that point, Queen Azshara will enact a decree. This decree forces players to perform certain actions or play in a certain way, otherwise they are punished.
-
The decrees are always enacted in the same order, and once all 5 decrees have been enacted, the order will repeat.
-
On higher difficulties, the decrees are enacted more frequently.
Listed here are the decrees Queen Azshara will use in the order she will use them. Detailed next to the decrees is information on how these abilities must be countered and how they can overlap poorly with other mechanics.
1. Form Ranks
Several zones will appear in the middle of the encounter space. These zones explode after 5 seconds, dealing high arcane damage to the entire raid.
This damage is reduced significantly if a player stands within a zone.
-
Each of the zones should have at least 1 player stand within it as to bring the damage to reasonable levels.
-
After one set of zones have detonated, a new set will appear 5 seconds later. Players will have to deal with a total of 3 sets over 30 seconds.
-
Zealous Eruption can occur during this decree. Silivaz the Zealous should be tanked near the zones as to ensure that players can soak them whilst remaining within his safe zone.

2. Repeat Performance
Everyone in the raid gains the ![]() Repeat Performance debuff lasting 30 seconds, which will silence and pacify any player who uses the same ability twice in a row.
Repeat Performance debuff lasting 30 seconds, which will silence and pacify any player who uses the same ability twice in a row.
-
Players should avoid using the same ability twice in a row, as being silenced and pacified severely reduces your output.
-
Do note that "off global cooldown" abilities such as interrupts can be used to help interrupt a chain of identical abilities.
3. Stand Alone
Everyone in the raid will receive the ![]() Stand Alone debuff lasting 30 seconds. This places a 5 yard zone around the player.
Stand Alone debuff lasting 30 seconds. This places a 5 yard zone around the player.
-
If any other player enters this 5 yard zone, they will receive a minor burst of frost damage.
-
Players should attempt to spread out as much as possible whilst this debuff is active, as to reduce incoming raid damage.
-
If players are forced to stand near each other or stack up, such as for the Frenetic Charge, they should do so for the shortest time possible, as to minimize incoming damage.
-
Zealous Eruption can occur during this decree. Players should spread out evenly within the safe zone as to keep raid damage to a minimum.
-
In large raid sizes, not all players may be able to enter the safe zone without dealing damage via Stand Alone. In this situation, the players should opt to take the damage from Stand Alone over the damage from Zealous Eruption.

4. Deferred Sentence
The 30 second long ![]() Deferred Sentence debuff will be applied to all players in the raid.
Deferred Sentence debuff will be applied to all players in the raid.
-
This debuff gains stacks as the player stands still. When the debuff expires, or when a player moves, they will take a burst of damage for each stack of Deferred Sentence they had.
-
Players should move frequently as to keep the incoming raid damage slow and steady, rather than have all players have high stacks and take a large burst of damage all at once.
-
Keeping stacks below 3-4 should be the goal of all players.
5. Obey or Suffer
The ![]() Obey or Suffer 30 second long debuff is applied to all raid members.
Obey or Suffer 30 second long debuff is applied to all raid members.
-
This causes all players to gain the
 Suffering debuff each time they take damage, which makes them immune to healing for 5 seconds.
 -
Suffering also cannot occur for around 5 seconds after it has expired, allowing tanks to actually receive healing during this decree.
-
All players should attempt to minimize the damage they take whilst this decree is active, as they may die within the Suffering healing immunity.
-
Potent Spark orbs can spawn during this decree. Players should not destroy the orbs if they can, and instead should deal with them after the Obey or Suffer has ended.
Heroic Difficulty
Potent Spark
When a ![]() Potent Spark expires, it applied a 5 second debuff to the raid which increases the damage taken from subsequent
Potent Spark expires, it applied a 5 second debuff to the raid which increases the damage taken from subsequent ![]() Potent Spark explosions by 100%.
Potent Spark explosions by 100%.
-
This forces the raid to stagger the Potent Spark explosions by at least 5 seconds, as taking a Potent Spark hit whilst afflicted with the debuff may kill several players.
Decrees
Decrees occur every 45 seconds, up from one minute.
-
This only leaves 15 seconds of downtime between each decree, forcing players to deal with the mechanic more frequently.
-
This change also changes the ability overlaps that players will need to deal with, making the fight play out very differently from normal difficulty.
-
That being said, as long as players stick to the decrees commands as often as possible, there isn't all that much of a difficulty change between the two versions.