Za’qul
Guida in italiano qua!
Cliccate su Leggi Tutto per la guida completa in inglese!
Quick Tips
All Phases:
-
Do not enter the
 Dark Beyond void around the edges of the room.
 -
Tanks: Stay within 12 yards of each other to keep
 Mind Tether reflect damage to a minimum.
 -
Everybody dodge the
 Crushing Grasp tentacles that shoot across the room.
 -
Dispel
 Dread debuffs in a staggered way to prevent the raid from being one shot.
Phase One: 100- 85% - Standard Realm
-
Move from the
 Portal of Madness zones.
 -
Kill the Horrific Summoner adds as soon as possible.
-
Passively cleave down the Horrific Vision adds.
Phase Two: 85-70% - ![]() Fear Realm
Fear Realm
-
Healers will need to counter ever increasing raid damage from the
 Hysteria stacks.
 -
Move away from your allies when afflicted with
 Manifest Nightmares.
 -
Do not stand in the
 Nightmare Pools left behind by the Manifest Nightmares debuffs.
 -
Drag the boss into the
 Maddening Eruption zone before it explodes.
Phase Three: 70-50% - ![]() Delirium Realm
Delirium Realm
-
Have DPS stand within the Delirium's Descent zones to enter the
 Delirium Realm.
 -
Whilst within the realm, nuke the living hell outta the boss, but avoid ripping threat off of the adds.
-
If you die in the Delirium Realm, you will rejoin your allies.
-
Dispel the
 Shattered Psyche stun as soon as possible.
Phase Four: 50-0% - All Realms
-
Damage through the bosses Dark Pulse shield to interrupt the spell.
-
Send players into the
 Fear Realm to kill off the Horrific Summoners.
 -
You can always rejoin the "standard realm" by using a Extra Action Button whilst within the portal near First Arcanist Thalyssra.
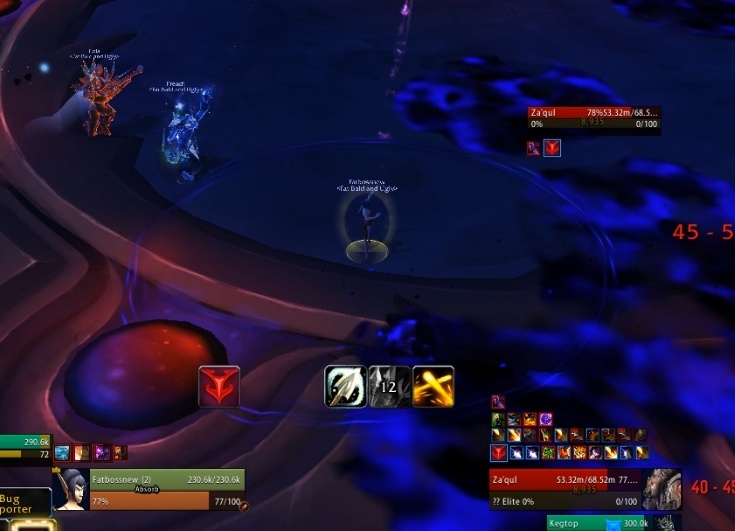
Phase One: 100% - 85%
Dark Beyond
Shortly after Za'qul has been engaged, a permanent large ring of void will appear around the edge of the encounter space.
-
This Dark Beyond void deals very high damage to anyone who stands within it every second.
-
Several mechanics will either knock back, or otherwise force players into the Dark Beyond if they do not position correctly, which will quickly lead to their deaths.
Mind Tether
The boss casts ![]() Mind Tether on the tank at the beginning of the encounter.
Mind Tether on the tank at the beginning of the encounter.
-
This tethers the tank and the closest player with a tether, causing them to reflect 50% of the damage they take to one another.
-
If the two players move more than 12 yards apart from each other, this reflection damage is increased.
-
On the pull, the tank should make sure that their co-tank is the closest player to them, as to ensure that no non-tank player is tethered.
If the boss casts this ability on the tank and there is no other player within the tanks realm, the tank will be stunned for 10 seconds via ![]() Snapped.
Snapped.
-
This only occurs at the start of new phases. Tanks need to make sure they always remain in the same realm as one another when Mind Tether is due to be cast.
Crushing Grasp
The boss opens a portal at the side of the encounter space and moments later a large tentacle will cascade across the entire room in a straight line.
-
Anyone hit by this will take a large amount of shadow damage and be knocked back a long distance.
-
Everyone needs to quickly identify where this tentacle is about to spawn and move from its path, as otherwise they may die as they're knocked into the Dark Beyond.
-
As this ability always passes directly through the centre of the room, the raid and boss should be positioned around the edges as to minimize the chance that people need to move around.
Dread
The boss occasionally casts ![]() Dread, applying multiple debuffs to random DPS players.
Dread, applying multiple debuffs to random DPS players.
-
This Dread debuff deals light ticking damage over 10 seconds whilst causing the player to run in fear.
-
When the debuff is dispelled, or when it expires, it deals a large burst of damage to the raid.
The raid wants to dispel these debuffs as quickly as possible, but not so quickly that the raid is one shot by the expiration damage.
-
We recommend that two players are dispelled immediately. The rest of the players can then be dispelled in a staggered way, giving healers to top up the raid in between each detonation.
-
This is the primary source of incoming damage throughout the fight. The raid should have at least one healing cooldown for each set of Dread debuffs.
-
As the players are running in fear, they may run into the Dark Beyond void. These players should either be dispelled before they reach the void, or they can be Leap of Faith gripped back to safety.
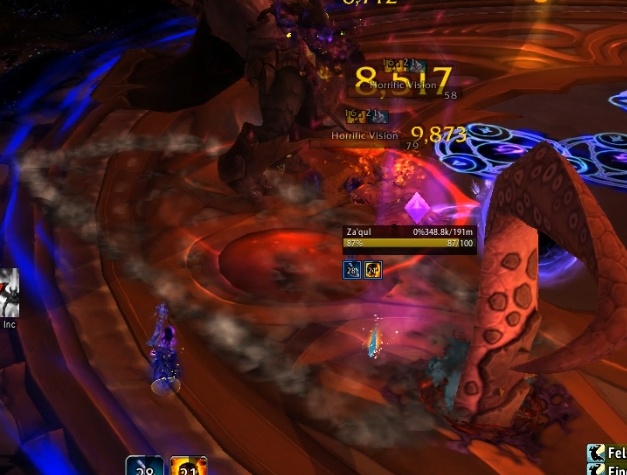
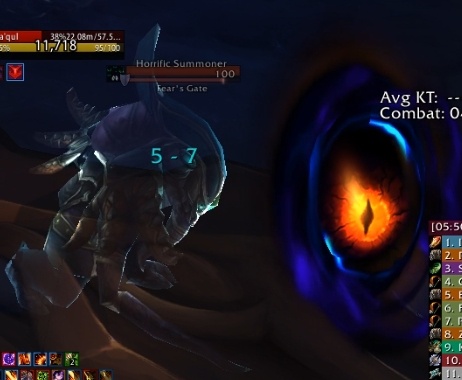
Portal of Madness
Shortly into the phase, the boss will spawn three ![]() Portal of Madness zones.
Portal of Madness zones.
-
These zones will cause a Horrific Summoner add to appear after a brief delay, whilst also dealing damage and fearing players who stand within the zone - so make sure to move out of them!
-
The Horrific Summoner adds do not directly attack the raid and do not need to be tanked. Instead they cast Dark Tear.
-
This long cast opens a portal that spawns a steady stream of Horrific Vision adds. These adds have no abilities on normal difficulty, and will just deal a minor amount of damage with their melee attacks.
-
If the 120 second long cast goes through, it will trigger a
 Void Eruption which deals large raid wide damage and will likely one shot most of your raid.
DPS should focus on killing the Horrific Summoners as soon as possible, with ranged players focusing on those that are further from the group.
-
The Horrific Visions shouldn't necessarily be focused down. Instead the tanks should attempt to gain aggro via ranged attacks and misdirects and they can be passively cleaved down underneath the boss.
-
All three adds must be defeated within the 120 second timer to avoid a wipe.
Upon reaching 85% health, the boss will enter phase two.
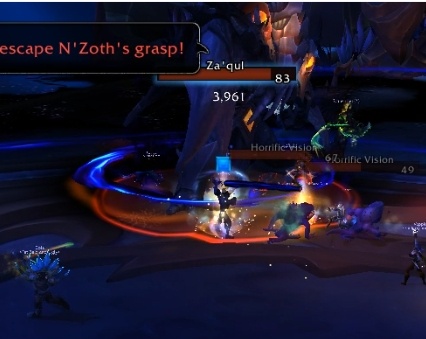
Phase Two: 85% - 70%
The boss will immediately drag all players inside the ![]() Fear Realm. The boss will continue to cast
Fear Realm. The boss will continue to cast ![]() Mind Tether,
Mind Tether, ![]() Crushing Grasp and
Crushing Grasp and ![]() Dread during phase two, and all three abilities should be handled in the same way.
Dread during phase two, and all three abilities should be handled in the same way.
-
Whilst within the Fear Realm, the boss will cast two additional abilities and the raid will receive a stack of Hysteria every 15 seconds.
-
Hysteria deals a small amount of ticking damage every second over its 25 second duration. This will stack up whilst players are within the Fear Realm.
-
Healers simply need to keep the raid topped up throughout the phase, potentially using an output healing cooldown when the raid is in particularly high stacks.
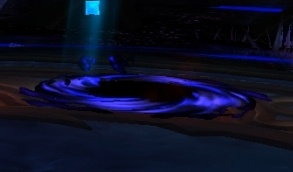
Maddening Eruption
Za'qul will frequently cast ![]() Maddening Eruption, which spawns a purple zone in the room, usually far away from the boss.
Maddening Eruption, which spawns a purple zone in the room, usually far away from the boss.
-
This zone will explode after ~20 seconds, dealing raid wide damage unless Za'qul is positioned within it: in which case it just deals damage to players within the animation.
-
Tanks need to quickly find the zone and drag Za'qul into it to reduce incoming raid damage.
-
If Za'qul successfully "soaks" the puddle, he will gain the
 Punctured Darkness debuff which increases his damage taken by 30% for 20 seconds.
Manifest Nightmares
![]() Manifest Nightmares debuffs will be applied to two random players. This generally picks players who are far from the from the boss.
Manifest Nightmares debuffs will be applied to two random players. This generally picks players who are far from the from the boss.
-
This 6 second debuff deals damage to the player and all other players within 7 yards every 2 seconds.
-
Each pulse spawns a Nightmare Pool on the ground, which deals heavy ticking damage to anyone who stands within it.
-
Players afflicted with Manifest Nightmares should move away from their allies whilst moving out of the Nightmare Pools they leave on the ground.
-
Ideally, these pools would be placed around the middle of the room, whilst leaving gaps as to allow allies to pass across the encounter space.
-
This is because players still want to be using the outer edge of the room to avoid the Crushing Grasp and to place the boss within the Maddening Eruption.
Once the boss reaches 70% health, phase three will begin.
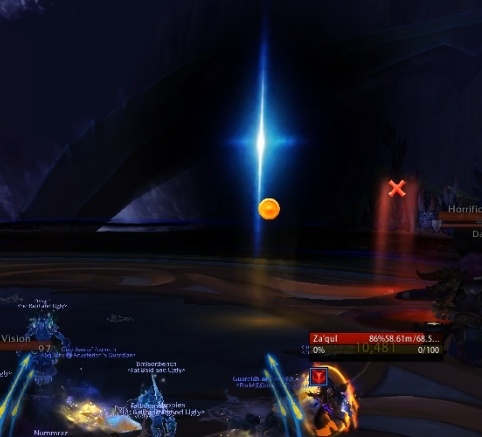
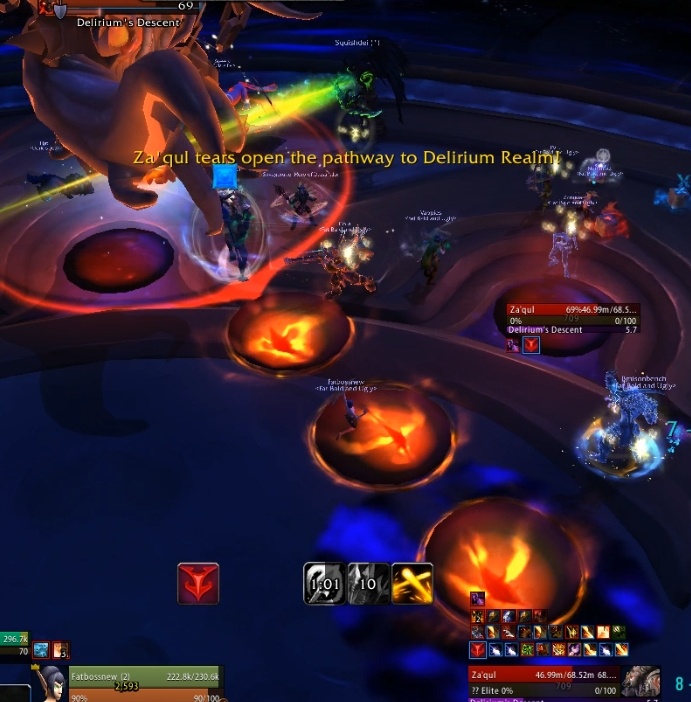
Phase Three: 70% - 50%
Delirium's Descent
Unlike the phase one to phase two transition, players will not be dragged immediately into another realm.
-
All players will remain within the Fear Realm and all phase two mechanics will continue to occur. These abilities are dealt with in the same way as phase one.
-
In this phase, the boss will occasionally cast Delirium's Descent. This creates 3 zones positioned in the direction the boss is facing, so face him away from the Dark Beyond when this is due to be cast.
-
The zones will explode after the bosses 8 second cast ends, each dealing a moderate burst of shadow damage to the raid.
-
If a player stands within the zone, it will not explode. Instead it will transfer them to the Delirium Realm at the end of the cast. Each zone can only transfer a single player.
-
Three players should enter the Delirium Realm each time this ability is cast.
Each zone must have at least single player stand in it!
When within the ![]() Delirium Realm, players are able to interact with the boss, any adds as well as other players within the realm. They are not able to see or interact with players in any other realm.
Delirium Realm, players are able to interact with the boss, any adds as well as other players within the realm. They are not able to see or interact with players in any other realm.
-
Whilst within the realm, players are "hostile to allies" and will gain a stack of Hysteria every 6 seconds, up from 15 seconds from the Fear Realm.
-
This increase in debuff applications will quickly lead to the players dying, as they are unable to receive healing from outside sources.
-
When a player dies within the Delirium Realm, they will be returned to the Fear Realm with 50% health and a Shattered Psyche 6 second dispellable stun.
-
If a player is forcefully returned to the Fear Realm via death, then they should be dispelled immediately and brought quickly to full health.
DPS players should be the ones to enter the ![]() Delirium Realm each time Delirium's Descent is cast, as players within the realm gain a buff which increases their haste by 80%.
Delirium Realm each time Delirium's Descent is cast, as players within the realm gain a buff which increases their haste by 80%.
-
If raids want to min-max this further, players who have cooldowns available during this period should enter the realm as to gain the most of the 80% haste increase.
-
Players within the realm should avoid attacking each other at all costs, as this will simply reduce the time that players will be able to utilised the increased damage done.
-
DPS inside the realm should avoid attacking the Horrific Vision adds until they have reached the boss, as otherwise they'll likely rip aggro and take damage from the adds attacks.
Players within the ![]() Delirium Realm will have to deal with some of the abilities the boss is casting.
Delirium Realm will have to deal with some of the abilities the boss is casting.
-
Crushing Grasps will appear in all realms, meaning that all players need to avoid it.
-
The Nightmare Pools created by the Manifest Nightmare debuffs can deal damage to players in all realms, although sometimes you won't be able to see it.
-
Players should keep to the edges of the room whilst in the Delirium Realm, as to keep away from the middle which should contain the majority of the Nightmare Pools from the Fear Realm.
Upon reaching 50% health, the boss will transition into phase four.
Phase Four: 50% - 0%
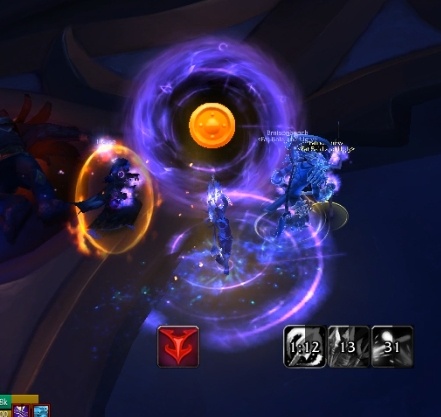
 Reality Portal
First Arcanist Thalyssra appears and immediately drags all players back to the "standard" realm.
-
She opens a portal near her which will allow players to return to the "standard" realm at any point throughout the phase by standing within it and using an extra action button.
-
Players need to keep Thalyssra in mind, as she will not move at any point. This means that any ability which creates zones on the ground can prevent players from leaving realms safely, which could ultimately lead to a wipe.
 Manic Dread
The boss maintains access to his ![]() Mind Tether and
Mind Tether and ![]() Crushing Grasp abilities, but the
Crushing Grasp abilities, but the ![]() Dread ability has been modified and transformed into
Dread ability has been modified and transformed into ![]() Manic Dread.
Manic Dread.
-
This acts the same way as the Dread ability seen before until it is dispelled.
-
Alongside dealing raid damage, the afflicted player will mark their location when the debuff is removed.
-
Moments later, all players within the zone will take a large burst of shadow damage and a pool of Caustic Delirium will spawn.
-
Players should move away from these locations as to avoid the incoming damage, which would easily kill them when combined with the damage dealt by the Manic Dread removal.
The ![]() Caustic Delirium patches deal ever increasing damage to anyone who stands within them.
Caustic Delirium patches deal ever increasing damage to anyone who stands within them.
-
After standing within a zone for 5 seconds, the player will be transferred to the Delirium Realm. This will cause the zone to despawn.
-
Healers should ensure that players who are entering the Delirium Realm via the Caustic Delirium patches are healed as to increase the time they can stay in that realm without dying.
-
DPS should enter the Delirium Realm just before the boss reaches 100% energy, so that they can use the 80% haste increase to damage through the bosses Dark Pulse shield.

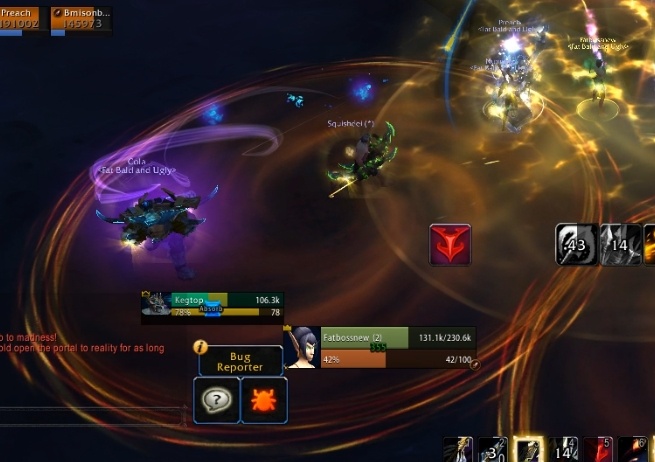
Dark Pulse
Upon reaching 100% energy, the boss will place a shield on himself that absorbs 5% of his maximum health.
-
Immediately afterwards he will cast Dark Pulse, an 18 second cast which will deal a large burst of shadow damage to the entire raid across all realms.
-
Players can only stop the cast by destroying the shield, which will stun the boss for 1.5 seconds via
 Mind Fracture.
 -
Players will always have access to the Delirium Realm for each Dark Pulse cast. This should be used to ensure that the raid can always damage through the shield and interrupt the cast.
-
As soon as this ability is cast, all DPS should focus their damage into the shield, ignoring their other tasks.
-
Once the shield has been removed, the players within the Delirium Realm should leave to let their Hysteria stacks drop between each Dark Pulse cast.
Dark Passage
The boss will cast ![]() Dark Passage, summoning three Horrific Summoner adds.
Dark Passage, summoning three Horrific Summoner adds.
-
As the adds spawn, the zones around them will explode, dealing damage and fearing any player within them for 6 seconds.
-
Similarly to phase one, these adds will channel Fear's Gate which summons a steady flow of Horrific Vision adds.
-
If the channel ends a Void Eruption will trigger, dealing heavy damage to players within all realms.
-
Unlike phase one, these adds can only be damaged by players within the Fear Realm due to their
 Shroud of Fear passive.
Players can enter the ![]() Fear Realm by standing within the Fear's Gate portal and using an Extra Action Button.
Fear Realm by standing within the Fear's Gate portal and using an Extra Action Button.
-
All players who are not going to enter the Delirium Realm should enter the Fear Realm to kill off the adds.
-
Once all three summoners have been killed, players should leave the Fear Realm by entering the portal near First Arcanist Thalyssra.
Whilst within the realm, players will need to deal with all phase two mechanics: ![]() Maddening Eruption &
Maddening Eruption & ![]() Manifest Nightmares.
Manifest Nightmares.
-
Once players leave the realm, the abilities will no longer be cast.
-
Anyone afflicted with Manifest Nightmares should keep the Nightmare Pools they spawn towards the middle of the encounter space.
-
Maddening Eruption zones can only be seen by players within the Fear Realm, meaning that tanks will not see the zones unless they enter the realm.
-
The tanks should also enter the Fear Realm so that they can see the zones themselves.
General phase four strategy.
As this phase has multiple different realms all interacting with each other, here is a very simple summary of what the raid needs to do over the course of the phase.
-
Dispel Manic Dread debuffs.
-
Enter the Fear Realm and clear out all 3 summoners.
-
Send DPS with cooldowns into the Delirium Realm before the boss reaches 100% energy.
-
Break through the bosses Dark Pulse shield.
-
Repeat.
This cycle continues until the raid can nuke down the boss before any Horrific Summoner adds will complete their Fear's Gate casts.
-
Players can still use the Delirium Realm during this time as to increase overall boss damage.
Heroic Difficulty
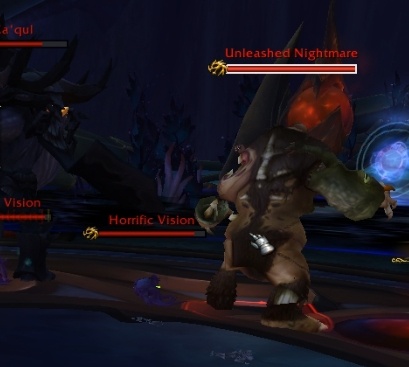
 Gathering Nightmare
Horrific Vision adds spawned throughout the encounter spawn with 30 stacks of ![]() Gathering Nightmare.
Gathering Nightmare.
-
Each stack increases damage taken by 5% and reduces movement speeds by 2%. Every 2 seconds, a stack of Gathering Nightmare will drop from each Horrific Vision.
-
Once all Gathering Nightmare stacks have been removed, the add will transform into a Unleashed Nightmare add.
-
This add has increased health, deals increased damage and applies stacks of Hysteria each melee attack via its
 Quivering Claws passive.
 -
All Horrific Vision adds need to be killed before their Gathering Nightmare stacks have dropped.
 Tentacle Slam
Players within the ![]() Delirium Realm will have to deal with the
Delirium Realm will have to deal with the ![]() Tentacle Slam mechanic.
Tentacle Slam mechanic.
-
A tentacle will appear and slam the ground, dealing heavy shadow damage and stunning all players within 2 seconds.
-
Players within the Delirium Realm need to keep their wits about them as to make sure they are not instantly removed from the realm by dying to the slam.