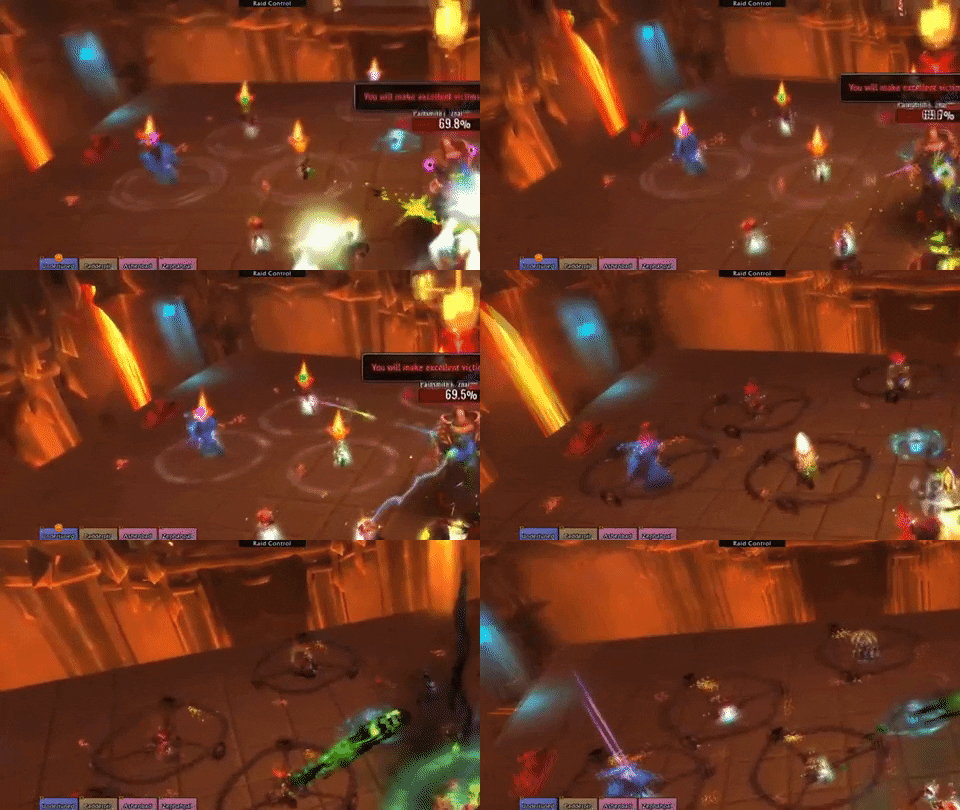
Painsmith Raznal
Guida in italiano Qua!
Cliccate su Leggi Tutto per la guida completa in inglese!
Painsmith Raznal Quick Tips
General
-
Avoid the Spikes on the floor when an Instrument of Pain is hurled at the tank.
-
Move away from other players when affected by
 Shadowsteel Chains.
 -
Move through the gap in the Spikes that travel from the boss towards the back of the encounter area in Phase 2.
-
Move away the spawn location of
 Shadowsteel Embers in Phase 2.
Tanks
-
The tank targeted by the Instrument of Pain should run to the corner of the platform, away from the raid.
-
Taunt swap after each stack of
 Blackened Armor.
Healers
-
Each time the boss hurls his weapon at the tank, the raid will take a large burst of fall-off damage.
-
The raid will continually take damage in Phase 2.
DPS
-
Kill a Spiked Ball to create a gap in the wall of
 Spiked Balls.
Painsmith Raznal Abilities & Strategy
This encounter consists of three Phase Ones, and two Phase Twos. During Phase One, the raid should be positioned around the center of the platform and utilize the edges and corners of the encounter area to deal with the tank mechanic, and ![]() Shadowsteel Chains. When a wall of
Shadowsteel Chains. When a wall of ![]() Spiked Balls spawns, one of them should be marked and killed to create a gap for the raid to move through.
Spiked Balls spawns, one of them should be marked and killed to create a gap for the raid to move through.
During Phase Two, the raid will need to move through a series of spike walls that move from the boss towards the back of the encounter area. Each wall will have a single safe gap for the raid to move through.
After each Phase Two, the boss switches weapons, which will create different patterns of spikes when the weapon is hurled at the tank.
Painsmith Raznal Phase One
Instruments of Pain
-
Painsmith Raznal will have a specific Instrument of Pain equipped in each Phase One.
-
After each Phase 2, the Instrument of Pain used will change.
-
The pattern of Spikes that spawn when the Instrument of Pain is hurled at the tank will vary depending on which one is equipped.
-
 Blackened Armor will be applied to the target hit whenever the boss hurls his weapon at them.
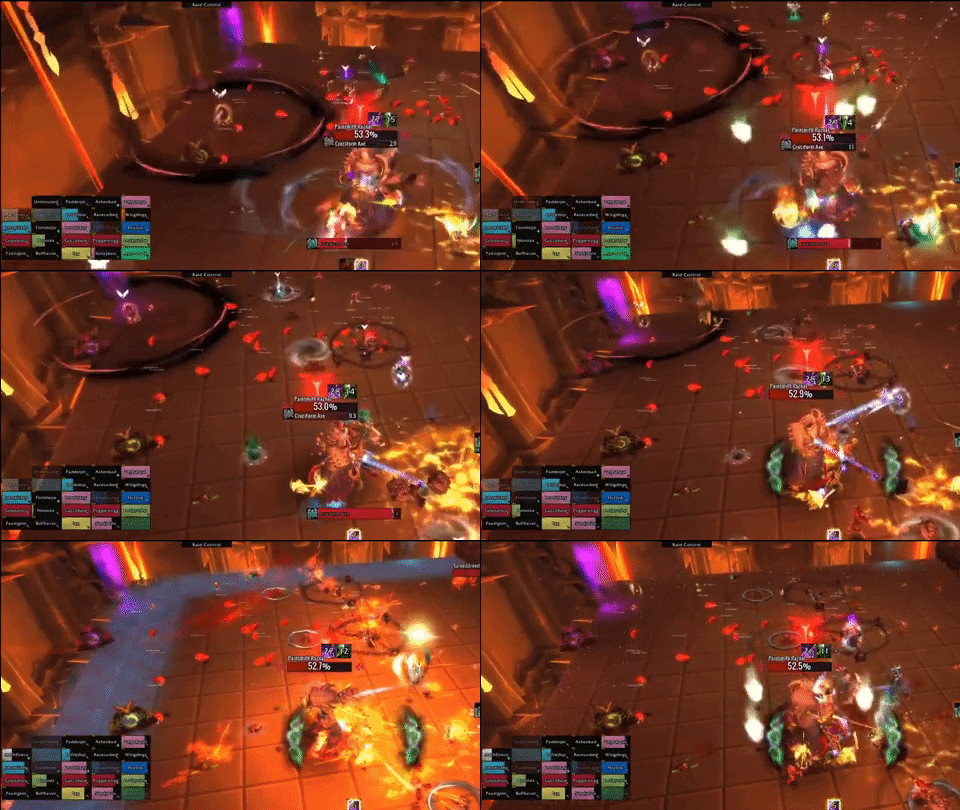
 Cruciform Axe
The ![]() Cruciform Axe will create a cross pattern for players to dodge.
Cruciform Axe will create a cross pattern for players to dodge.
To avoid, stand diagonally from the impact location.
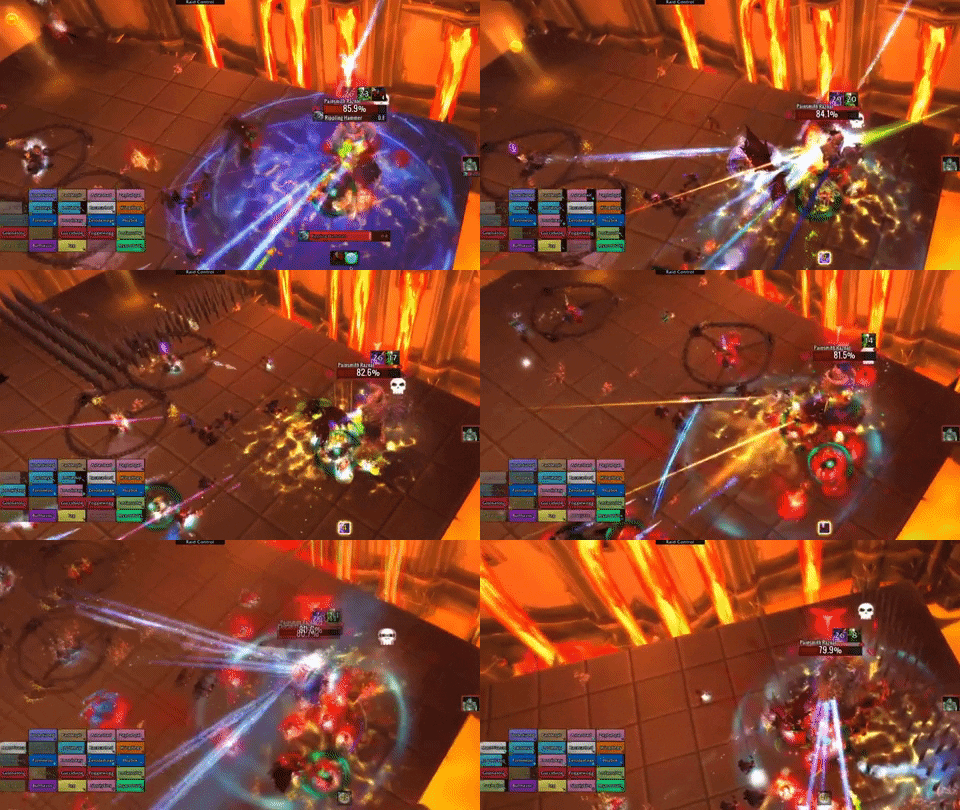
 Reverberating Hammer
The ![]() Reverberating Hammer will create a ripple effect that starts at the impact location and travels through the platform.
Reverberating Hammer will create a ripple effect that starts at the impact location and travels through the platform.
To avoid, move over the Spikes as they disappear after effecting a row.
 Dualblade Scythe
The ![]() Reverberating Hammer will create a cross pattern followed by a ripple effect.
Reverberating Hammer will create a cross pattern followed by a ripple effect.
 Spiked Balls
The boss will periodically spawn a row of ![]() Spiked Balls that spans the entire platform, which will roll towards the opposite side, killing any players they roll over.
Spiked Balls that spans the entire platform, which will roll towards the opposite side, killing any players they roll over.
-
A Spiked Ball should be marked and killed to create an opening for the raid to move through.
-
Players with
 Shadowsteel Chains should move through the gap last.
 Shadowsteel Chains
Random players will be marked with ![]() Shadowsteel Chains, dealing damage and knocking away players within 4 yards of them.
Shadowsteel Chains, dealing damage and knocking away players within 4 yards of them.
-
Affected players should move out of the raid to avoid bumping into players without the chains.
 Spiked
Getting hit by spikes caused by tank mechanics will deal a large amount of physical damage and stun the player.
Painsmith Raznal Phase Two: 70%, 40%
At 70%, and 40% the boss will trigger an intermission to change which Instrument of Pain he is using.
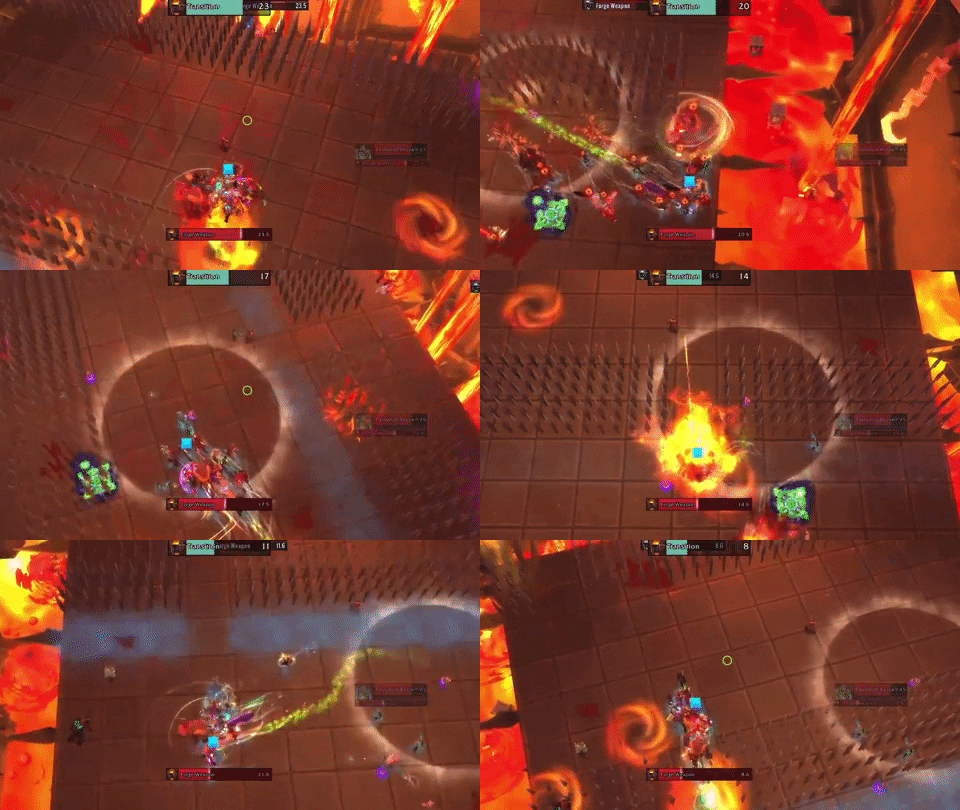
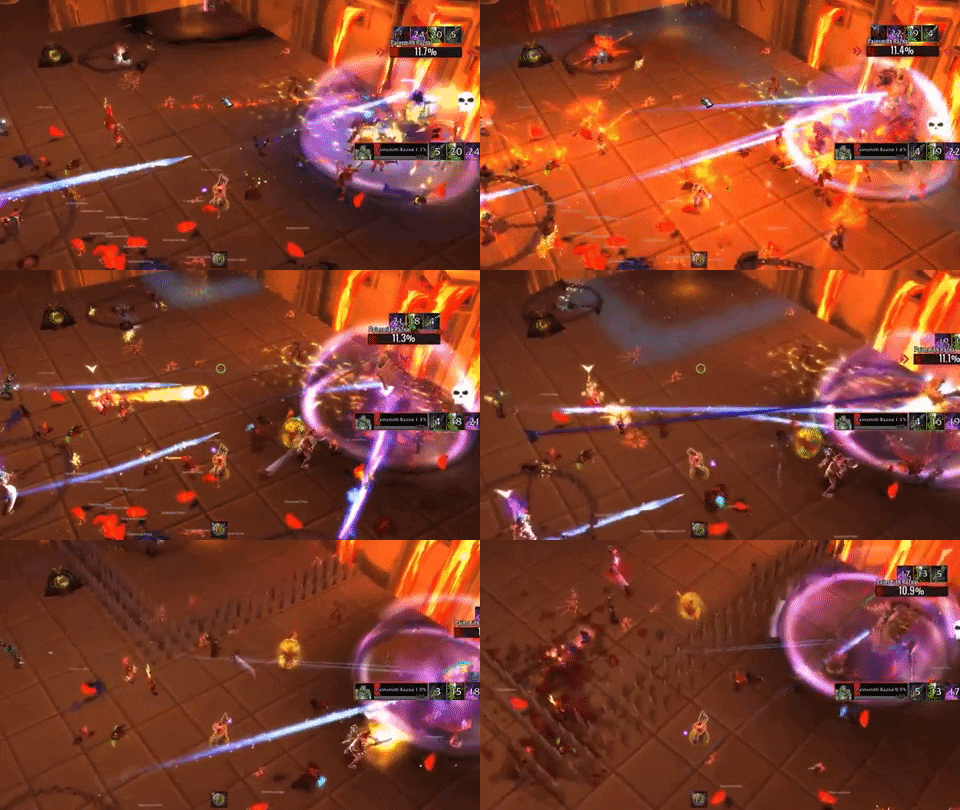
Players moving through the safe zones during Phase Two.
Waves of spikes will continuously travel from the boss towards the back of the platform. Each wave will have a single gap for the raid to move through.
 Shadowsteel Embers
Blazing embers will appear near players, which will deal fire damage to anyone hit.
 Black Flames
The raid will be taking continuous fire damage, and gain a stacking fire damage dot called ![]() Lingering Flames.
Lingering Flames.
Heroic Painsmith Raznal
The Heroic change adds a large amount of raid damage to the encounter, and will require players to be mindful of their surroundings, as triggering more than one ![]() Flameclasp Trap at a time will likely mean a wipe.
Flameclasp Trap at a time will likely mean a wipe.
 Flameclasp Trap
Up to 4 players will be marked, and after a short duration they will drop a ![]() Flameclasp Trap near their location.
Flameclasp Trap near their location.
-
 Flameclasp Traps will explode if stepped on, pierced by spikes, or crushed by
  Spiked Balls.
 -
When a
 Flameclasp Trap explodes, the entire raid will take a large amount of damage from
  Flameclasp Eruption and gain a debuff that increases the damage taken by further eruptions by 200% for 1.5 seconds.
 -
 Flameclasp Traps should be stepped on one by one to avoid multiple exploding at the same time.
Strategy Change
One player should be designated to detonate ![]() Flameclasp Traps by stepping on them. We recommend a high mobility class, such as a Beast Mastery Hunter.
Flameclasp Traps by stepping on them. We recommend a high mobility class, such as a Beast Mastery Hunter.
In the first Phase One, ![]() Flameclasp Traps can be placed almost anywhere, as long as they are not in line with the corner the tank is using for the tank mechanic. These
Flameclasp Traps can be placed almost anywhere, as long as they are not in line with the corner the tank is using for the tank mechanic. These ![]() Flameclasp Traps can be detonated one by one, giving healers time between each explosion to top the raid.
Flameclasp Traps can be detonated one by one, giving healers time between each explosion to top the raid.
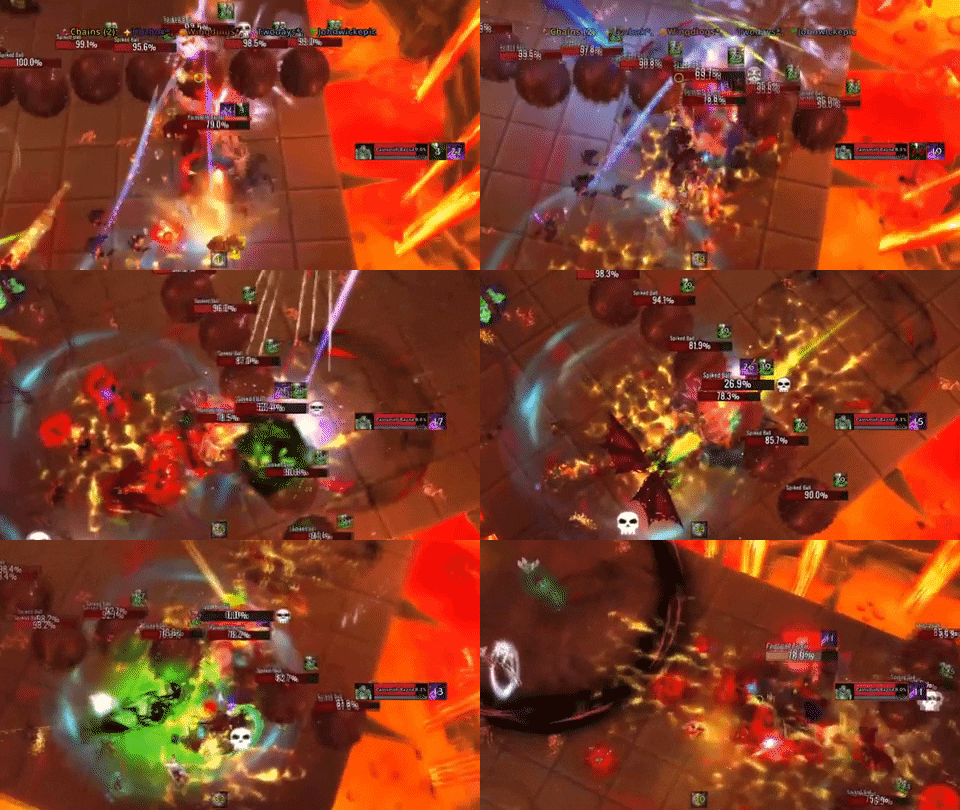
In the second and third Phase One, ![]() Flameclasp Trap should be placed on the opposite edge from where the tank is taking the weapon hit. There are two overlaps where the raid will have to kill a
Flameclasp Trap should be placed on the opposite edge from where the tank is taking the weapon hit. There are two overlaps where the raid will have to kill a ![]() Spiked Balls, run through the gap and immediately have to deal with
Spiked Balls, run through the gap and immediately have to deal with ![]() Flameclasp Traps and tank hit at the same time. For these kinds of overlaps the tank should run through the gap, and run towards an assigned corner, while the players affected by
Flameclasp Traps and tank hit at the same time. For these kinds of overlaps the tank should run through the gap, and run towards an assigned corner, while the players affected by ![]() Flameclasp Traps should run to the opposite edge of the platform, shown in the clip below. After the
Flameclasp Traps should run to the opposite edge of the platform, shown in the clip below. After the ![]() Flameclasp Traps are placed, the designated player should detonate them in close intervals, simply giving the
Flameclasp Traps are placed, the designated player should detonate them in close intervals, simply giving the ![]() Flameclasp Eruption debuff time to drop.
Flameclasp Eruption debuff time to drop.
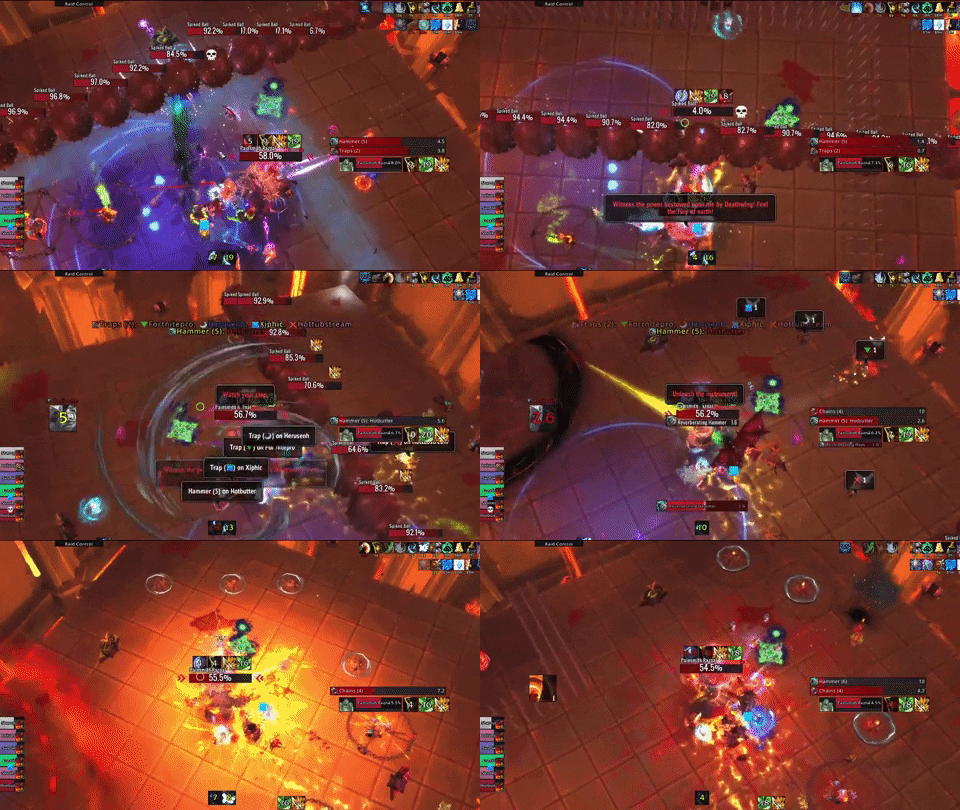
Players moving through the gap, then dropping traps on the opposite side of the tank hit.

