Kel’thuzad
Guida in italiano Qua!
Cliccate su Leggi Tutto per la guida completa in inglese!
Kel'Thuzad Quick Tips
General
-
Move to a safe spot during
 Howling Blizzard.
 -
Move away from others when affected by
 Oblivion's Echo.
 -
Stay away from Frostbound Devoted adds if you are fixated.
-
Stack with the player affected by
 Frost Blast to split the incoming damage.
 -
Drop all Glacial Spikes in the same location to make killing them evenly easier.
-
In the third Phase Two, one Glacial Spike should be dropped far from the raid and ignored.
-
Avoid being hit by
 Demolish in Phase Two.
 -
Move to safe zones in Phase Three to avoid standing in
 Deep Freeze.
Tanks
-
Taunt Swap after each cast of
 Soul Fracture.
 -
Run over slain
 Soul Shards to pick up your soul fragment.
 -
Pick up Unstoppable Abominations during Phase Two.
Healers
-
Use healing cooldowns when Glacial Spikes are slain.
-
Dispel players affected by
 Frozen Binds. Mass Dispel works best.
 -
Send some healers into the Remnant of Kel'Thuzad realm during Phase Two.
-
Players will take continuous stacking damage during Phase Two and Three.
-
Each Phase One there will be an increasing number of Glacial Spikes, increasing the healing required as the encounter progresses.
DPS
-
Kill Frostbound Devoted adds before they reach their target and detonate.
-
Kill
 Soul Shards when they appear around the encounter area.
 -
Interrupt
 Soul Shards when they cast
  Piercing Wail.
 -
Kill all Glacial Spikes at the same time
-
Ignore the Glacial Spike that is dropped away from the raid in the third Phase One.
-
Send about half of your dps to the Remnant of Kel'Thuzad in each Phase Two.
-
Interrupt Soul Reavers when they cast
 Banshee's Cry in Phase Two and Three.
Kel'Thuzad Abilities & Strategy
This encounter consists of two phases that repeat themselves three times, becoming more challenging each time. In the first Phase One, the raid should be loosely spread around the encounter area, and control/kill any adds that spawn until the boss is brought to 0% health, which triggers Phase Two.
Kel'Thuzad Phase One: 100% - 0%
 Dark Evocation
Slain players and Frostbound Devoted adds will be revived each time this ability is cast.
This means as the encounter progresses, there will be an increasing number of Frostbound Devoted adds throughout the fight.
 Oblivion's Echo
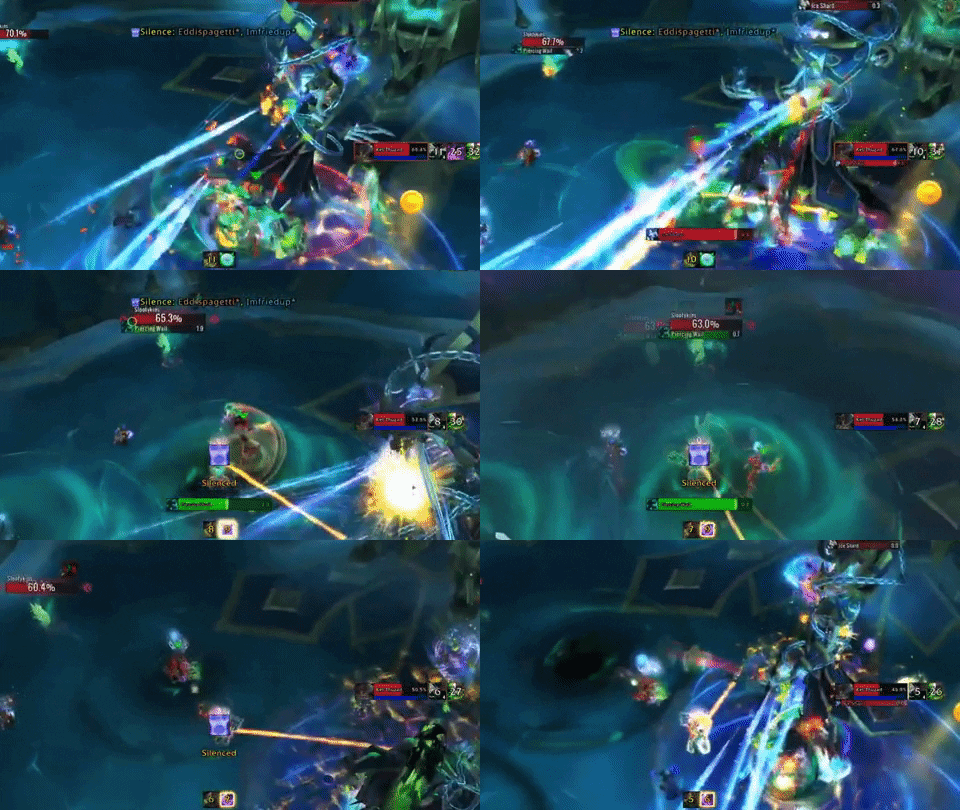
Random players will be marked with ![]() Oblivion's Echo, which will pacify all players and
Oblivion's Echo, which will pacify all players and ![]() Soul Shards within 10 yards. When the debuff expires, the field that silences will drop and spawn a Frostbound Devoted after 6 seconds.
Soul Shards within 10 yards. When the debuff expires, the field that silences will drop and spawn a Frostbound Devoted after 6 seconds.
-
Frostbound Devoted adds will fixate random players, and cast
 Relentless Haunt.
 -
If a Frostbound Devoted add reaches its target, it will explode, causing a large amount of damage to anyone within 5 yards.
-
Frostbound Devoted can be controlled using any form of CC.
-
During each Phase One, the number of
 Oblivion's Echoes applied to the raid will increase.
 Soul Fracture
The boss will strike his current target, inflicting a large amount of shadow damage, knocking the player away, and shattering their soul into 3 ![]() Soul Shards.
Soul Shards.
-
Each
 Soul Shard will cast
  Piercing Wail, which deals a large amount of damage to the whole raid.
 -
 Piercing Wail can be interrupted by players, or by standing on them with
  Oblivion's Echo.
 -
After a
 Soul Shard is killed, the tank can pick up the shard. After all three shards are picked up, the
  Soul Exhaustion debuff is removed.
 -
 Soul Exhaustion causes the player to receive 500% increased physical damage. If the players doesn’t collect all
  Soul Shards within a minute, they instantly die.
 Glacial Wrath
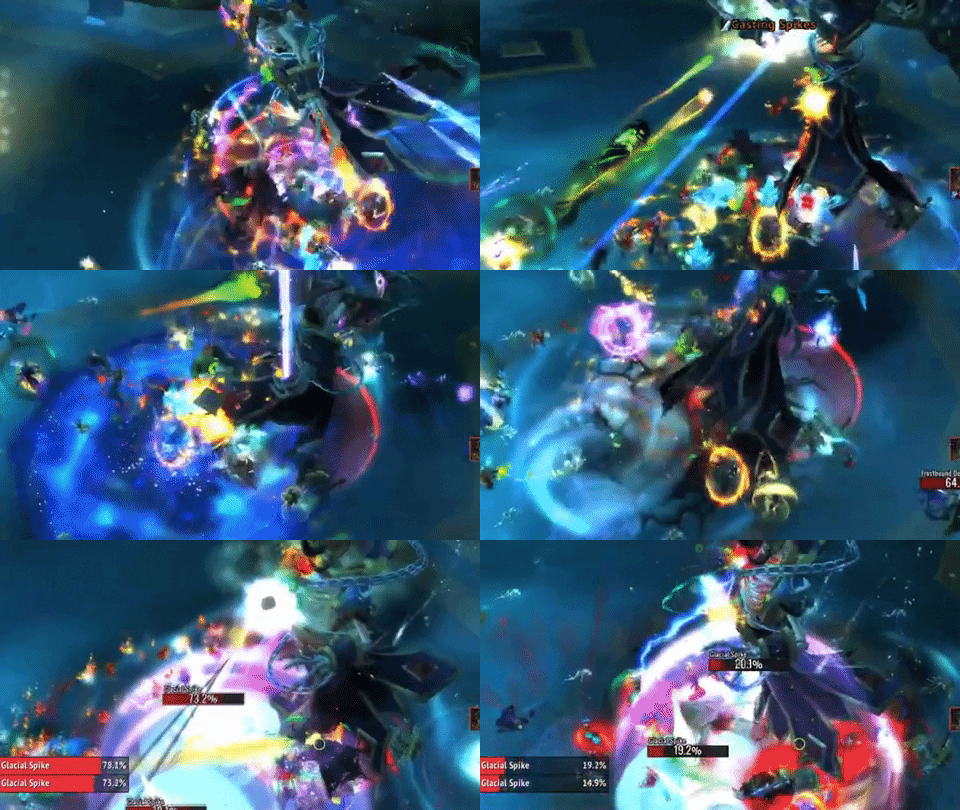
Random players will be marked with ![]() Glacial Wrath, and when the debuff expires they will spawn a Glacial Spike near them.
Glacial Wrath, and when the debuff expires they will spawn a Glacial Spike near them.
-
Glacial Spikes are adds that cannot be moved, and they lose 5% health every 2 seconds.
-
Upon death, Glacial Spikes will erupt causing
 Frozen Destruction, which applies a stacking frost damage dot to all players in the raid.
 -
Each Phase One, there will be an increasing number of Glacial Spikes that spawn.
-
In the first two Phase Ones, we recommend stacking up all Glacial Spikes, killing them evenly, and using healing cooldowns to deal with the dot damage.
-
In the third Phase One, we recommend having a single Glacial Spike run far from the raid, while all the other ones are spawned near each other.
-
The stacked Glacial Spikes should be killed, while the far one should be ignored to die on its own.
 Frost Blast
A random player will be marked with ![]() Frost Blast, which will deal a large amount of split damage and root all players within the area upon expiration.
Frost Blast, which will deal a large amount of split damage and root all players within the area upon expiration.
-
Most of the raid should stand near the marked player to split the incoming damage.
-
The
 Frozen Binds root can be removed by any dispels, mass dispel, and spells that remove movement impairing effects.
 -
The marked player can also use an immunity to solo soak this mechanic if they have one available.
 Howling Blizzard
When Kel'Thuzad's mana is fully depleted he will cast ![]() Howling Blizzard, which slowly fills most of the encounter area with ice, dealing damage to players who stand in it.
Howling Blizzard, which slowly fills most of the encounter area with ice, dealing damage to players who stand in it.
-
The safe zone can be identified by looking for the larger gaps between ice patches when they appear.
Kel'Thuzad Phase Two
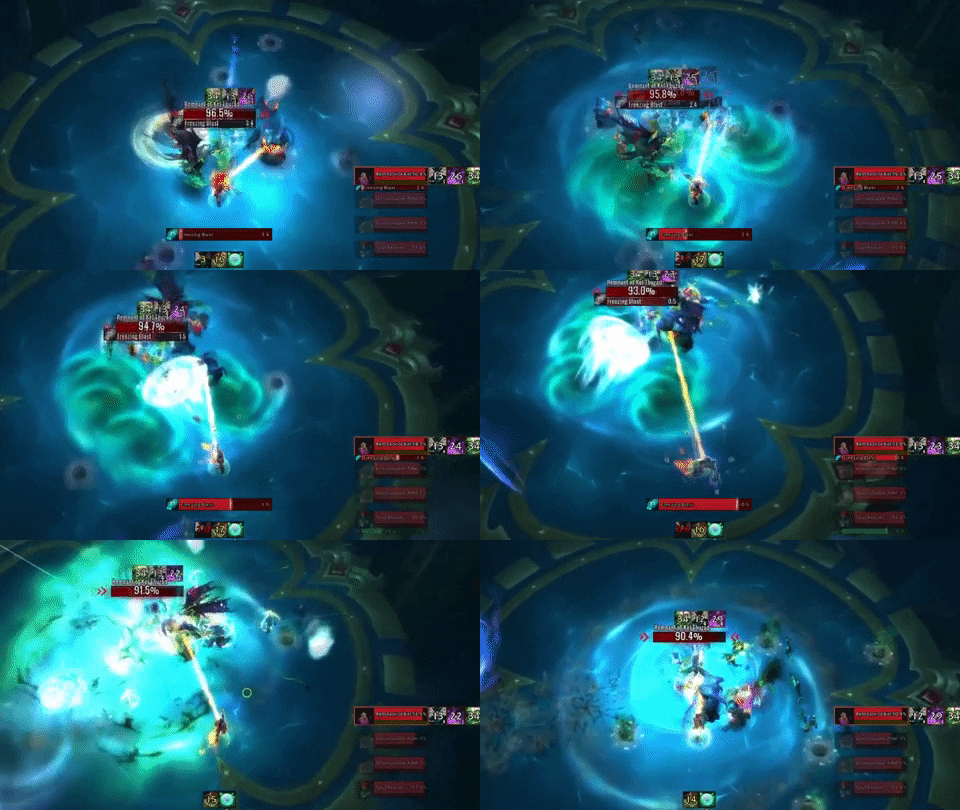
Phase Two will start each time Kel'Thuzad reaches 0% health. In this phase players will have the choice of going into the Phylactery to deal with the Remnant of Kel'Thuzad by activating their extra action button while standing near Kel'Thuzad, or staying in the normal realm to deal with the ![]() March of the Forsaken.
March of the Forsaken.
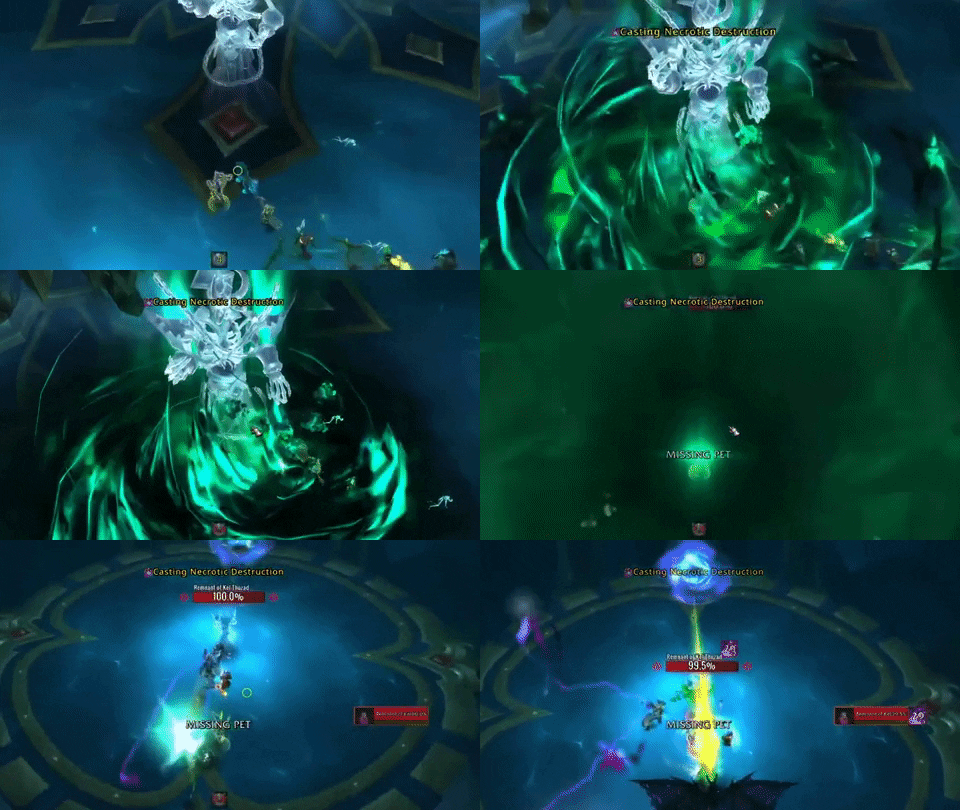
Player entering the Phylactery during Phase Two.
We recommend sending about half your DPS and a couple healers to Remnant of Kel'Thuzad, while your tanks and the rest of the raid can stay in the Normal realm.
Necrotic Surge
Each time Kel'Thuzad is revived, he will deal 5% increased damage, and will increase the number of ![]() Oblivion's Echo and
Oblivion's Echo and ![]() Glacial Wrath applied to the raid.
Glacial Wrath applied to the raid.
Normal Realm
 March of the Forsaken
Unstoppable Abomination
Unstoppable Abominations will spawn in Phase Two. These large mobs deal very heavy physical damage to their target, and periodically cast-
 Demolish will target a random players and shoot out a wave of energy towards them, dealing a large amount of shadow damage.
 -
Tanks can kite Unstoppable Abominations if needed.
Soul Reaver
Soul Reavers will deal damage to random targets, and will periodically cast-
If a cast of
 Banshee's Cry is successful, the Soul Reaver will gain a stack of Empowered Cry, causing them to deal 25% increased damage.
 -
Soul Reavers should be interrupted and killed quickly.
Phylactery Realm
Necrotic Miasma
A stacking debuff will be applied to all players within the Phylactery, dealing increasing shadow damage as the phase progresses.Remnant of Kel'Thuzad
 Shadow Fissure
-
It is best to assign Melee DPS or ranged who can DPS while moving due to this mechanic.
 Freezing Blast
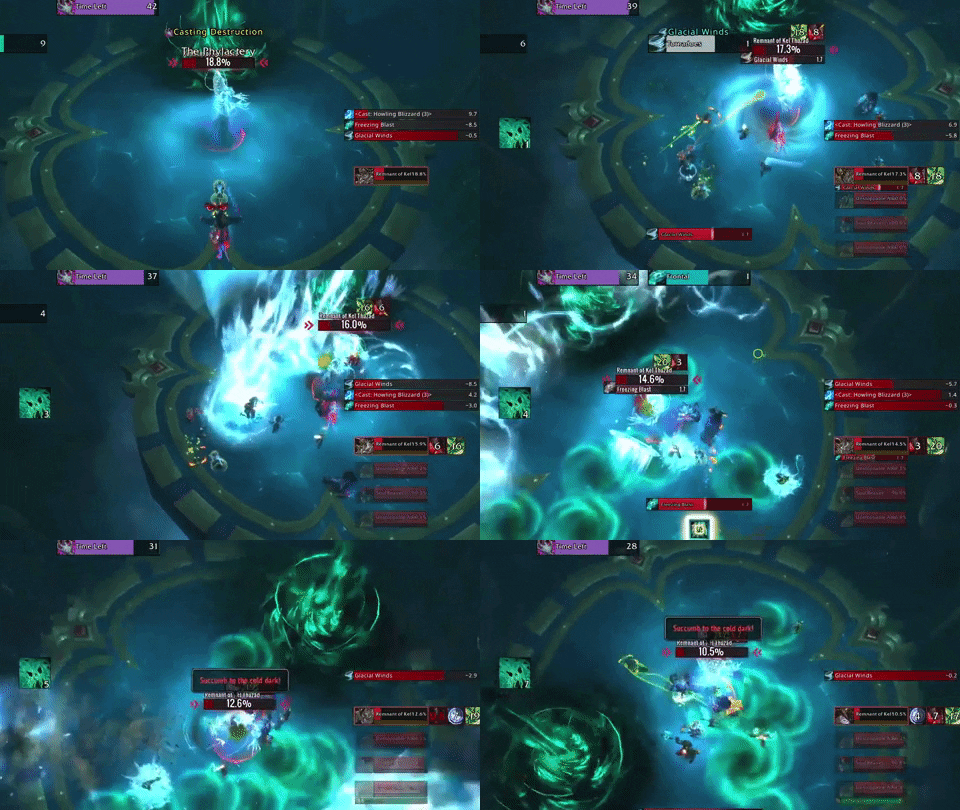
The Remnant of Kel'Thuzad will face towards a random player, and start casting a frontal which will deal frost damage and rooting any players hit. Glacial Winds
During the last Phase Two, while the Remnant of Kel'Thuzad is below 20% health, he will conjure tornadoes that deal frost damage and root players.These tornadoes start near him and spiral towards the edges of the platform.
Kel'Thuzad Phase Three
This last phase of the encounter combines elements of the first two phases. The goal is to defeat the boss before the entire room fills up with ice due to the ![]() Deep Freeze ability.
Deep Freeze ability.
 Deep Freeze
Random ice patches will appear around the encounter area at the beginning of the phase and grow continuously. Players who stand within the ice patch will take a large amount of Frost damage.
 Onslaught of the Damned
The boss will continuously spawn Unstoppable Abominations, Soul Reavers, and Frostbound Devoted adds.
Abilities Present in Phase Three
-
 Sinister Miasma: makes healing increasingly difficult.
 -
 Deep Freeze: puts a time constraint on how long this phase can go on for.
 -
 Frost Blast: requires the raid to stack when a player is targeted.
 -
 Ice Shard: default tank damage mechanic.
Heroic Kel'Thuzad
The only Heroic specific change is the addition of ![]() Undying to Phase Two. The only change in strategy this will require is that the Phylactery and Normal realms should finish at the same time to prevent adds from being revived.
Undying to Phase Two. The only change in strategy this will require is that the Phylactery and Normal realms should finish at the same time to prevent adds from being revived.
Any adds revived by the Phylactery gain ![]() Necrotic Empowerment, making them much more dangerous to your raid.
Necrotic Empowerment, making them much more dangerous to your raid.
The easiest way of dealing with this is getting all the adds to low health, finishing the Phylactery, then killing all the adds in the Normal realm, which will ensure that they never revive.

