Guida in italiano qua!
Cliccate su Leggi Tutto per la guida completa in inglese!
Wrathion Quick Tips
Phase One
-
Position the boss with his side to the raid so that
 Tail Swipe and
  Searing Breath do not hit them.
 -
Tanks should take turns taking the Searing Breath, swapping on 2-3 stacks of
 Searing Armor.
 -
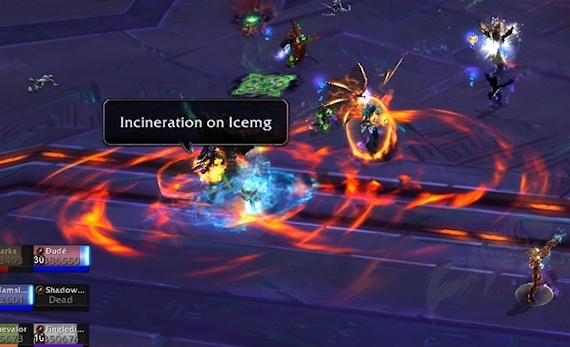
When afflicted with
 Incineration, move 20-30 yards away from the raid before it expires.
 -
Move 30+ yards away from the boss and spread 5 yards away from your allies when
 Gale Blast is cast.
 -
Find the safe spot on the opposite side of the room to the boss when he casts
 Burning Cataclysm.
Phase Two
-
Have three mobile players soak the
 Scales of Wrathion. They should then run through Crackling Shards to destroy them.
 -
All other players should attack all the Crackling Shards that are left over.
-
Quickly bring the Assassins out of stealth via AOE/Stealth removal abilities and then kill them off. (Heroic Only)
Wrathion Phase One
Searing Breath
Approximately every 8 seconds, Wrathion unleashes a large breath in a cone faced towards the tank, dealing a burst of fire damage and applying ![]() Searing Armor to all players hit.
Searing Armor to all players hit.
-
Searing Armor deals low ticking damage whilst increasing the damage you take from subsequent Searing Breaths by 80% for 20 seconds.
-
A single Tank should face the boss side-on to the raid, as to ensure that nobody is hit by the breath aside from themselves.
-
Tanks should taunt off of each other whilst maintaining the direction the boss is facing when their debuff drops. This is usually every Searing Breath cast.
-
Wrathion will only cast Tail Swipe as a reaction to players standing directly behind him.
-
Players should avoid standing directly behind the boss at any given time, instead they should all be stood on one side of the boss.
-
Avoid spreading out on either side of the boss, as healers may struggle to maintain healing range of you.
Incineration
Every 30-60 seconds, Wrathion applies several ![]() Incineration debuffs to the raid simultaneously.
Incineration debuffs to the raid simultaneously.
-
These 8 sec debuffs deal moderate ticking damage and explode upon expiration, dealing a large falloff damage to the raid.
-
Players afflicted with Incineration should attempt to move at least 25 yards away from all other players as to bring incoming raid damage to a minimum.
-
The amount of debuffs applied to the raid scales with raid size. Healers, ranged & melee DPS can be targeted by this ability.
Gale Blast
Wrathion channels ![]() Gale Blast over 4 seconds, creating a 30 yard zone around himself.
Gale Blast over 4 seconds, creating a 30 yard zone around himself.
-
At the end of the cast, all players within the zone take a large burst of damage and are knocked back.
-
Players outside of the zone take a moderate amount of fire damage instead.
-
Immediately afterwards, the location underneath several players will be marked and hit with a fireball moments later, dealing a large burst of fire damage.
-
As soon as the Gale Blast is cast, all players should move 30 yards away from the boss whilst spreading apart from one another to avoid the fireballs after the ability ends.

Burning Cataclysm
Approximately 1 minute into phase one, Wrathion will cast ![]() Burning Cataclysm.
Burning Cataclysm.
-
He will briefly face an edge of the room and then teleport to that location. This location is usually far away from the bosses currently location.
-
He'll then spew out several
 Scorching Blister zones which will grow over 10 seconds, nearly coating the encounter space.
 -
Anyone stood within these zones taking heavy ticking damage and near lethal damage when they explode after 10 seconds.
-
Players need to quickly find an area in the room that the Scorching Blisters do not reach - this is almost always opposite the location of the boss.
After all the ![]() Scorching Blister zones have detonated, the boss will immediately cast
Scorching Blister zones have detonated, the boss will immediately cast ![]() Molten Eruption.
Molten Eruption.
-
This marks several locations with red swirly circles that will explode after a few moments, dealing low fire damage and knocking back anyone within 3 yards.
-
Afterwards,
 Molten Pools are formed at each impact location. These pools do not deal any damage to players standing within them and only have a function during phase two.
Once ![]() Molten Eruption is cast, the boss will resume his usual phase one mechanics.
Molten Eruption is cast, the boss will resume his usual phase one mechanics.
-
The tanks should quickly position the boss in the middle of the encounter area and face him side-on to the raid to avoid anyone getting hit by Searing Breath or Tail Swipe.
-
After the second
 Molten Eruption cast the boss will immediately enter phase two.
Wrathion Phase Two
Crackling Shards
Immediately upon entering phase two, the boss will cast Smoke and Mirrors.
-
This causes each of the Molten Pools to spawn a Crackling Shard, an attackable enemy.
-
After ~1 minute, the boss will reenter phase one. Any remaining Crackling Shards will turn into
 Lava Pools, a small area which deals ticking damage to anyone within it.
 -
Additionally, the Lava Pools apply a permanent debuff called
 Rising Heat to the entire raid which deals minor ticking damage, but will stack for each Lava Pool in the encounter.
 -
Because of this, the entire raid should focus on killing all Cracking Shards before phase two ends.
Killing a Crackling Shard causes a ![]() Pyroclastic Flow deals a very minor amount of fire damage to all players within 10 yards.
Pyroclastic Flow deals a very minor amount of fire damage to all players within 10 yards.
-
This shouldn't discourage melee players from attacking the Crackling Shards, instead players should just be cautious when stood near large clusters of shards which are due to die in a short time frame.
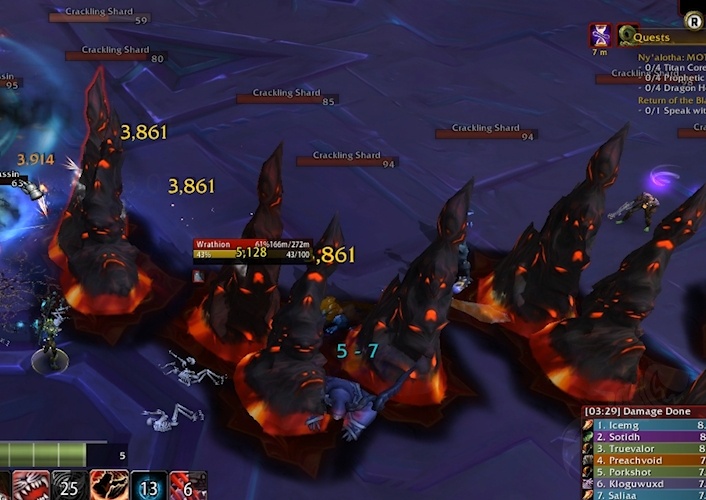
Scales of Wrathion
As well as the spawning of the Crackling Shards, three ![]() Scales of Wrathion drop from the boss as soon as the phase begins.
Scales of Wrathion drop from the boss as soon as the phase begins.
-
These scales will deal large raid wide damage if not soaked by a player, so the raid should have one person stand in each of the three zones.
-
The player who soaked the scale will gain 10 stacks of the
 Burning Madness debuff which lasts 10 seconds.
 -
This debuff will allow the player to run into a Crackling Shard, instantly destroying it whilst extending the duration of the Burning Madness debuff by around 1 second per shard destroyed.
-
Players who gain this debuff should focus on clearing as many shards as their debuff allows - ideally ones that are not grouped up as they will be more easily killed by the groups AOE and cleave damage.
-
The raid might want to assign classes with high mobility to gain these debuffs as to ensure that all 10 stacks are fully used before it times out.
After ~1 minute or shortly after all Crackling Shards have been destroyed, the boss will reappear and phase one will begin again.
-
The fight will continue to switch between the two phases until the boss is dead.
Soak a Scale of Wrathion and then run through the shards to destroy them!
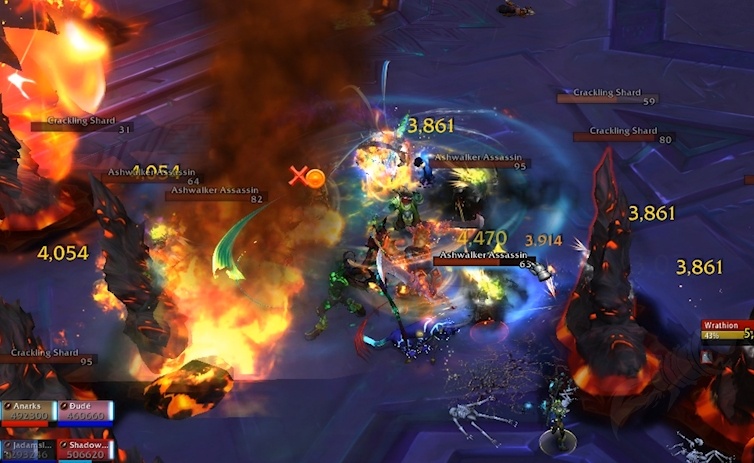
Wrathion Heroic Difficulty
Ashwalker Assassins
Shortly after phase two begins, several Ashwalker Assassin enemies will spawn towards the edges of the encounter space.
-
Immediately after spawning, the assassins stealth via
 Smoke Shroud.
 -
This stealth is removed via stealth revealing spells (such as a Hunters Flare) or by damage (usually from an AOE ability as the assassins cannot be targeted unless very close).
-
Whilst in stealth, the assassins will attack players, either stunning them for 10 seconds with their
 Noxious Choke or dealing a large burst of damage to them with their
  Dark Ambush.
 -
The raid needs to quickly remove the assassins from stealth as to prevent them from using these abilities, especially on those with the Burning Madness debuffs.
-
All players should use any AOE abilities that they can, focused on the space that the adds spawn or in the area around the Burning Madness players.
-
Once the adds are out of stealth, they should be grouped up by the tanks and passively cleaved down, as they are not very dangerous once visible.
Use AOE spells to reveal the assassins from stealth!